
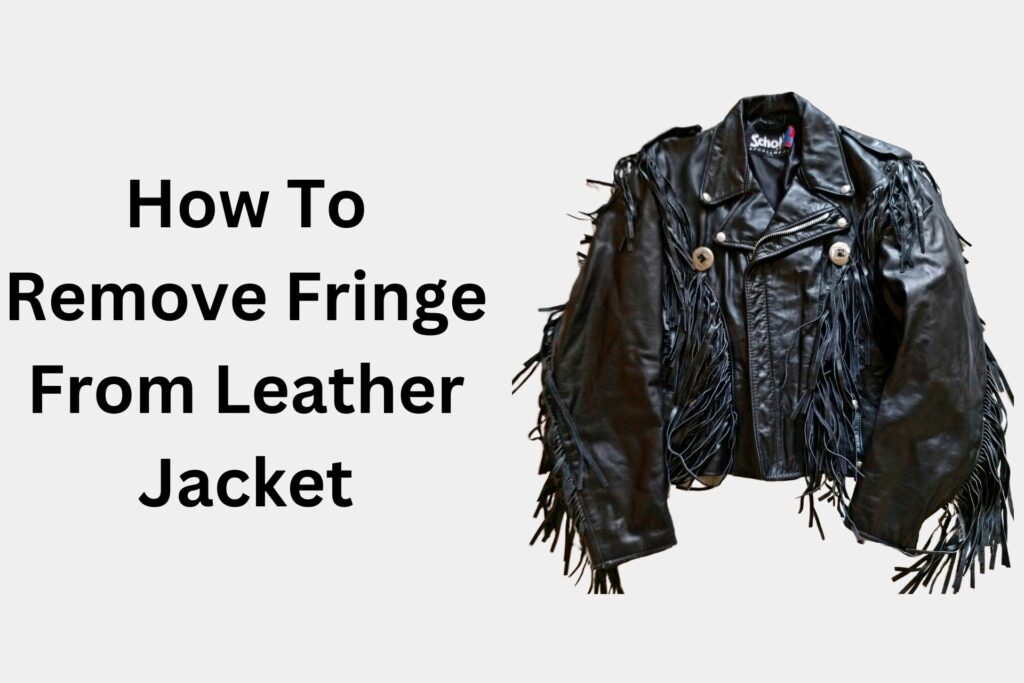
Removing fringes from a leather jacket can be a daunting task, especially if you have never done it before. However, with the right tools and materials, it can be done quickly and easily. In this article, I will provide a step-by-step guide on how to remove fringes from a leather jacket, as well as some tips on post-removal care and potential risks and precautions.
Before we get started, it is important to understand the material you are working with. Leather is a natural material that requires special care and attention. It is important to use the right tools and materials to avoid damaging the leather. Additionally, fringes are often attached to the jacket using glue, so it is important to be careful when removing them to avoid damaging the leather or leaving behind any residue.
Now that we have covered the basics, let’s move on to the tools and materials you will need to remove fringes from a leather jacket.
Tools and Materials Needed
Removing fringe from a leather jacket can be a daunting task, but with the right tools and materials, it can be done with ease. Here are the essential tools and materials you will need to remove fringe from your leather jacket.
- Scissors
- Leather Glue (This one is cheap and gets the job done)
- Seam Ripper (This is the best one on Amazon and costs less than $10)
How To Remove Fringe From Leather Jacket
If you want to remove fringes from your leather jacket, follow these simple steps:
1. Initial Preparations
First, gather all the necessary tools. You will need a pair of sharp scissors, a ruler, and a seam ripper. You may also want to consider using a leather conditioner to keep the leather soft and supple after you remove the fringes.
Next, lay the jacket flat on a clean, flat surface. Use a lint roller or a soft brush to remove any dust or debris from the surface of the jacket. This will help prevent any damage to the leather while you work.
2. Cutting the Fringes
Using a ruler, measure the length of the fringes you want to remove. Mark the measurement with a small piece of tape or a pencil. This will help you keep your cuts straight and even.
Using the sharp scissors, carefully cut along the marked line. Be sure to cut only the fringe and not the leather of the jacket. Repeat this process for all the fringes you wish to remove.
3. Sealing the Edges
After you have removed all the fringes, you may notice that the edges of the leather are frayed or rough. To prevent any further damage, use a seam ripper to carefully remove any loose threads.
And to maintain the equal length of the individual fringe pieces, you can use leather glue to stick the really long strips to themselves to shorten their height.
Post-Removal Care
After removing the fringe from your leather jacket, it’s important to take proper care of it to maintain its quality and appearance. In this section, I will discuss the cleaning and conditioning steps you should follow.
Cleaning the Jacket
First, wipe down the jacket with a clean, dry cloth to remove any loose debris. Then, use a leather cleaner that is specifically designed for your type of leather. Apply the cleaner to a soft cloth and gently rub it onto the leather in a circular motion. Be sure to follow the instructions on the cleaner’s label and avoid using too much water, as it can damage the leather.
If your jacket has any stains, use a stain remover that is safe for leather. Apply the remover to a clean cloth and gently rub it onto the stain. Let it sit for a few minutes, then wipe it off with a clean, damp cloth.
Conditioning the Leather
After cleaning your leather jacket, it’s important to condition it to keep it soft and supple. Apply a leather conditioner that is specifically designed for your type of leather. Use a soft cloth to apply the conditioner in a circular motion, making sure to cover the entire surface of the jacket.
Allow the conditioner to absorb into the leather for a few minutes, then wipe off any excess with a clean cloth. Be sure to follow the instructions on the conditioner’s label and avoid using too much, as it can leave a greasy residue on the leather.
Final Remarks
In this article, I covered the step-by-step method of removing fringe from your leather jacket. As long as you are careful and patient, it is a relatively simple procedure that most people will be able to do at home.
As a quick reminder, here are the three steps that you need to do to remove fringe from your leather jacket:
- Initial preparations and gathering tools
- Cutting the fringes
- Sealing the edges

My name is Alex Higson and I am the founder of Magic Of Clothes. I have worked in the fashion industry for many years, and clothes and style are a huge part of my life.