
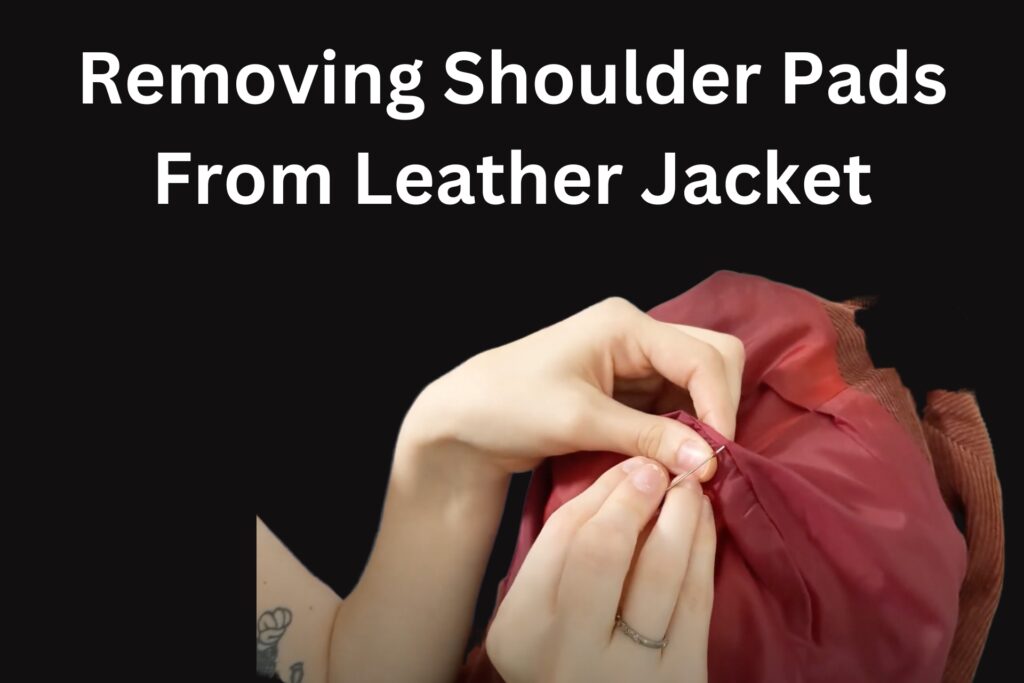
Removing shoulder pads from a leather jacket can be a tricky process, but with the right tools and techniques, it can be done easily and effectively. As someone who has removed shoulder pads from many leather jackets, I can attest to the importance of understanding the process and the materials needed for the job.
Shoulder pads are typically sewn into the lining of the jacket at two or three points, and they can be made of a variety of materials, including foam, cotton, or polyester. When removing them from a leather jacket, it’s important to take care not to damage the lining or the leather itself.
To remove shoulder pads from a leather jacket, you’ll need a few basic materials, including a seam ripper, scissors, and a needle and thread. You’ll also need to prepare the jacket by turning it inside out and locating the points where the shoulder pads are attached.
But all of that will be covered in detail in this blog post, so you don’t need to worry about anything.
Materials Required
To remove shoulder pads from a leather jacket, you will need a few materials. Here are the items you will need:
- Seam ripper: A seam ripper is a tool that is designed to remove stitches, making it ideal for removing shoulder pads from a jacket. This one on Amazon costs less than $10, and it’s the best one on the market.
- Needle and thread: You will need a needle and thread to sew the lining back together after removing the shoulder pads. Make sure to choose a thread that matches the color of the lining.
- Pliers: Pliers can be helpful when removing the shoulder pads, especially if the stitches are difficult to remove.
- Flat surface: You will need a flat surface, like a table or the floor, to work on when removing the shoulder pads. This will make it easier to see what you are doing and prevent any accidental cuts or tears.
How To remove Shoulder Pads from a leather jacket
Removing shoulder pads from a leather jacket can be a bit tricky, but it is possible to do it yourself with some basic tools and a little patience. There are two main methods for removing shoulder pads: removing stitched shoulder pads and removing glued shoulder pads.
1. Locating the Shoulder Pads
Turning the leather jacket inside out is the initial and crucial step in the process of removing shoulder pads. With the jacket turned inside out, you gain a clear view of the shoulder area and the way the shoulder pads are affixed.
Look for any visible stitching or adhesive lines that indicate the presence of shoulder pads. Take your time to carefully examine the area around the shoulders, ensuring you identify the precise attachment points.
If the shoulder pads are sewn, you might notice visible stitches connecting the pads to the lining. In the case of glued shoulder pads, you could spot adhesive residue or lines along the edges of the pads. This visual assessment will determine the subsequent steps you need to take for removing the shoulder pads effectively.
2. Removing the Shoulder Pads
Depending on whether the shoulder pads are sewn or glued, the method of removal will differ.
If Shoulder Pads are Sewn:
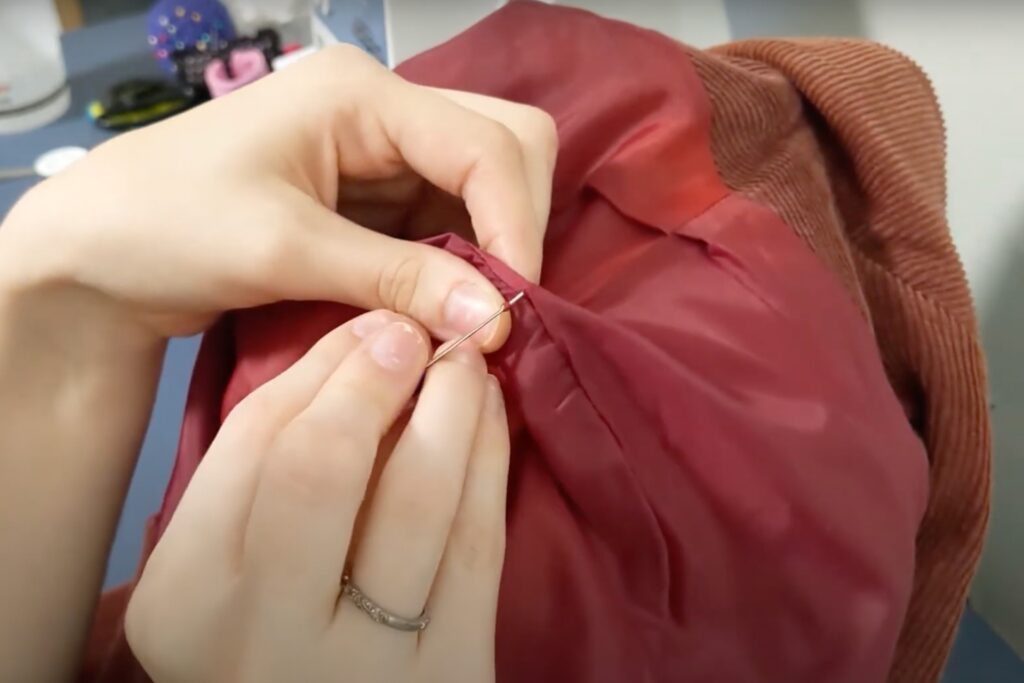
Using a seam ripper is the go-to tool for this task. Carefully insert the pointed end of the seam ripper under the stitches that attach the shoulder pad to the lining. Gently push and guide the ripper along the stitches, cutting them one by one. Exercise caution to avoid puncturing or tearing the lining or the leather itself. Once the stitches are fully severed, the shoulder pad should come loose from the lining.
If Shoulder Pads are Glued:
Removing glued shoulder pads requires a different technique. Begin by using a hair dryer on a moderate heat setting to apply heat to the area where the shoulder pad is attached. The heat will help soften the glue, making it easier to detach the pad. Maintain a safe distance between the hair dryer and the leather to prevent overheating or scorching.
Once the glue has been sufficiently heated, take a butter knife or another flat and thin tool. Gently insert the edge of the tool between the shoulder pad and the lining. Gradually and carefully pry the shoulder pad away from the lining, applying even pressure. Avoid using excessive force to prevent damaging the leather or the lining.
3. Final Separation of Shoulder Pads and Leather
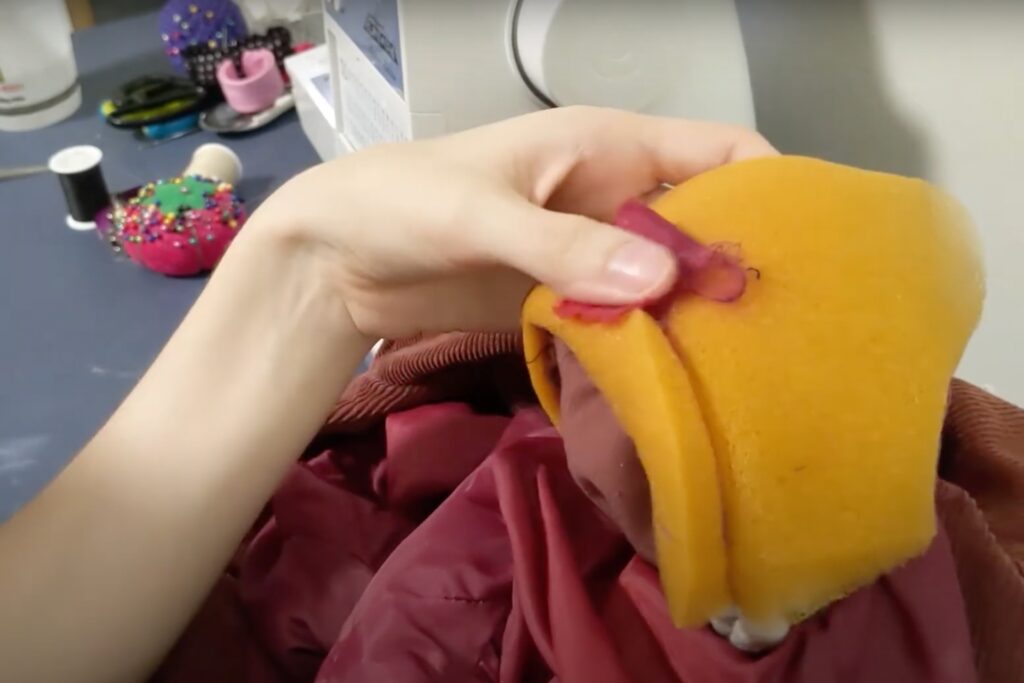
Congratulations, you’re nearing the completion of the process to remove shoulder pads from your leather jacket.
With the shoulder pads now detached from the lining, take a moment to examine the area one last time. Ensure that all stitches have been cut or glue has been loosened effectively, leaving the shoulder pads completely free from any attachments.
To remove the shoulder pads, use a gentle yet firm grip on one end of the pad. Slowly and cautiously, begin to pull the pad away from the lining. In some instances, the pads might require a slight wiggling motion to disengage from the material completely.
To prevent any potential distortion, make sure your movements are controlled and gradual. In case you encounter resistance while pulling, refrain from using force.
Possible Challenges and Solutions
Here are some common issues you might encounter during this process and some solutions to help you overcome them:
- Difficulty accessing the shoulder pads: Depending on the design of your jacket, it may be difficult to access the shoulder pads. This is especially true if the jacket is lined or if the shoulder pads are sewn in tightly. To address this issue, you may need to carefully remove the lining or use a seam ripper to loosen the stitches holding the shoulder pads in place.
- Damage to the leather: When removing the shoulder pads, it’s possible to accidentally damage the leather of the jacket. This can happen if you use too much force or if you’re not careful when cutting or pulling out the shoulder pads. To avoid this, take your time and work slowly and carefully. Use sharp scissors or a seam ripper to avoid tearing the leather.
- Uneven or lumpy appearance: After removing the shoulder pads, you may notice that the jacket looks uneven or lumpy. This can happen if the shoulder pads were providing structure or support to the jacket. To address this issue, you may need to add some new padding or structure to the jacket. This can be done by adding new shoulder pads, using foam inserts, or even sewing in some extra fabric to provide support.
- Residual adhesive or stitching: You may find that there is residual adhesive or stitching left behind after the removal process. This can be unsightly and may even cause irritation or discomfort if it rubs against your skin. To address this issue, you may need to carefully remove the adhesive or stitching using a solvent or a seam ripper.
Conclusion
In conclusion, removing shoulder pads from a leather jacket is a simple process that can be done at home with the right tools and techniques. It is important to carefully examine the jacket and determine the best method for removing the shoulder pads without damaging the leather or lining.
If you are unsure about the process, it may be best to consult with a professional tailor or leather specialist.
Overall, removing shoulder pads from a leather jacket can be a great way to update an outdated look and create a more modern, streamlined silhouette.

My name is Alex Higson and I am the founder of Magic Of Clothes. I have worked in the fashion industry for many years, and clothes and style are a huge part of my life.